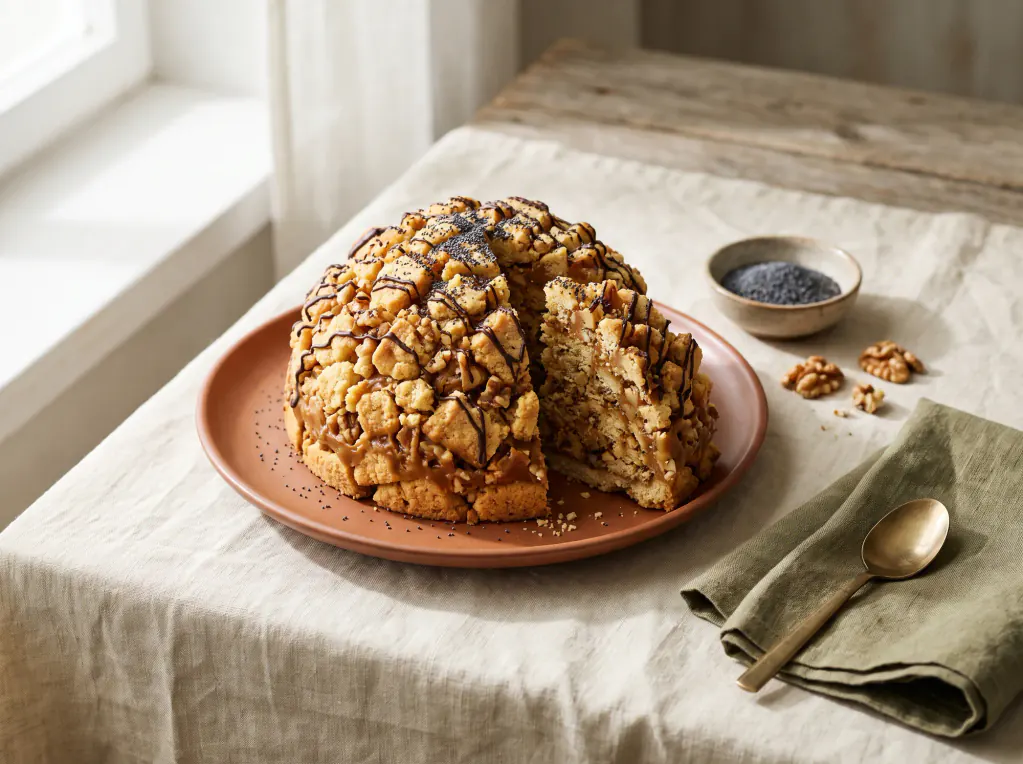
Sour Cream Layer Cake
Smetannyk proves a great layer cake needs neither fancy frosting nor advanced skills: sour cream in the batter, sour cream whipped with icing sugar between the layers, and a night in the fridge. By morning the cream has soaked right into the sponge and the cake is moist, tender and gently tangy. We bake one plain and one cocoa layer and split both, so the colours alternate.

- Prep
- 40 min
- Cook
- 30 min
- Rest
- 9 h
- Total
- 10 h 10 min
- Servings
- 12
- Level
- Medium
- Per serving
- 440 kcal
Ingredients
For the sponge
For the cream
Makes: one 22 cm cake, 12 slices
Shopping list
The ingredients for the servings you chose — copy them or send them to a messenger. Tick what you already have at home: only the rest goes on the list.
Method
-
Step 1: Prepare the tins
Heat the oven to 180 °C (350 °F). Butter two 22 cm round tins and line the bases with baking paper. If you only have one tin, bake the layers one after another — the second half of the batter can wait 30 minutes.
-
Step 2: Mix the batter
Whisk the eggs and sugar for 2–3 minutes until pale and foamy. Stir in the sour cream, baking soda and salt — the mixture will bubble a little as the soda reacts with the acidity of the sour cream. Sift in the flour with the baking powder and mix to a smooth batter about as thick as heavy sour cream.
-
Step 3: Divide the batter
Split the batter in half, ideally on a scale. Sift the cocoa into one portion and stir until evenly coloured. Spread each batter into its tin and level with a spatula.
-
Step 4: Bake the sponges
Bake for 28–32 minutes, until risen, springy on top and a wooden skewer pushed into the centre comes out dry. Leave in the tins for 10 minutes, then turn out onto a rack and cool completely, at least an hour.
-
Step 5: Whip the cream
Beat the cold sour cream with the icing sugar and vanilla on medium speed for 3–5 minutes, until slightly fuller and thicker. Don’t go longer or it may split. The cream will stay soft and pourable — that’s exactly right, as it’s meant to soak in.
-
Step 6: Split the sponges
Slice off the domed tops and set them aside for the crumb coating. Cut each sponge horizontally in half with a long knife, giving four thin layers: two plain and two chocolate.
-
Step 7: Assemble the cake
Place a plain layer on a serving plate, spread generously with cream, top with a chocolate layer and repeat, alternating colours. Cover the top and sides with the remaining cream. Rub the trimmed tops between your fingers into crumbs and press them all over the cake.
-
Step 8: Let it rest
Refrigerate for at least 8 hours, ideally overnight. The cream soaks into the sponge, the cake turns moist and soft, and the slices cut cleanly.
Tips & variations
-
Tip
For a thicker cream, tip the sour cream into a sieve lined with muslin and leave it in the fridge for 3–4 hours to drain off some whey. Not essential here, but the cake stands taller and neater.
-
Tip
Full-fat sour cream (25–30%) whips best. Lighter 15% sour cream gives a runny frosting that partly slides onto the plate.
-
Variation
Stir a handful of chopped walnuts into the chocolate batter and scatter thin banana slices between the layers.
-
Storage
Keep covered in the fridge for up to 3 days. We think it tastes even better on day two.
Nutrition
| 1 serving | Whole dish 12 servings | |
|---|---|---|
| Energy | 440 kcal | 5,280 kcal |
| Protein | 6 g | 72 g |
| Fat | 23 g | 276 g |
| Carbohydrates | 50 g | 600 g |
Approximate values calculated from standard ingredient data.
Cooked it? Rate the recipe
No ratings yet — yours will be the first.